Sample usage
Getting started
Starting with importing relevant packages and creating some points in the plane:
In [1]: import polygonation as pg

In [2]: import numpy as np

In [3]: points = np.random.rand(20, 2)
We can then find a set of convex polygons that contain the given points, using
the Polygonate class. The .shapes attribute then gives the points in each polygon:
In [4]: plgn1 = pg.Polygonate(points)

In [5]: plgn1.shapes
Out[5]:
[[13, 17, 18],
 [1, 13, 18],
 [6, 11, 16],
 [19, 8, 18],
 [9, 2, 5],
 [0, 4, 12],
 [13, 3, 14, 17],
 [5, 19, 16, 6],
 [2, 12, 6, 5],
 [1, 18, 8, 15],
 [3, 7, 4, 0, 14],
 [0, 9, 10, 17, 14],
 [9, 0, 12, 2],
 [8, 19, 16, 11, 15],
 [4, 7, 11, 6, 12],
 [7, 11, 15, 1, 13, 3]]
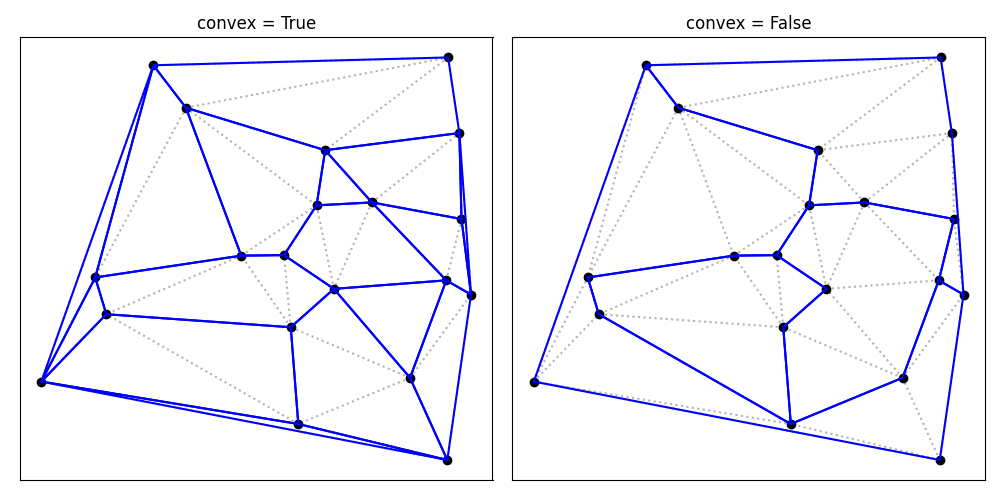
Using the is_convex function to verify that all polygons are indeed convex:
In [6]: print([pg.is_convex(points[s]) for s in plgn1.shapes])
[True, True, True, True, True, True, True, True, True, True, True, True, True, True, True, True]
If we let go of the convexity criterium, we can find a smaller set of polygons:
In [7]: plgn2 = pg.Polygonate(points, convex=False)

In [8]: plgn2.shapes
Out[8]:
[[7, 11, 15, 8, 1, 13, 3],
 [13, 1, 8, 16, 6, 5, 19, 18, 17, 14, 0, 4, 7, 3],
 [6, 2, 12, 4, 7, 11, 15, 8, 16],
 [0, 14, 17, 10, 9, 5, 6, 2, 12, 4]]
Here is a comparison of both polygonations:
Additional options
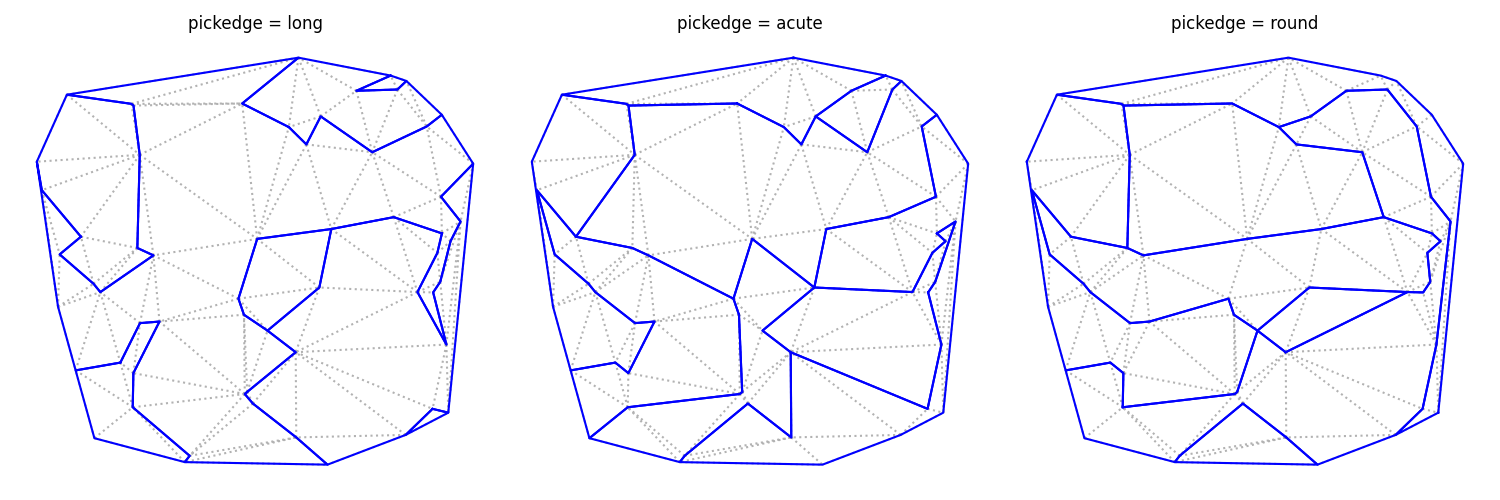
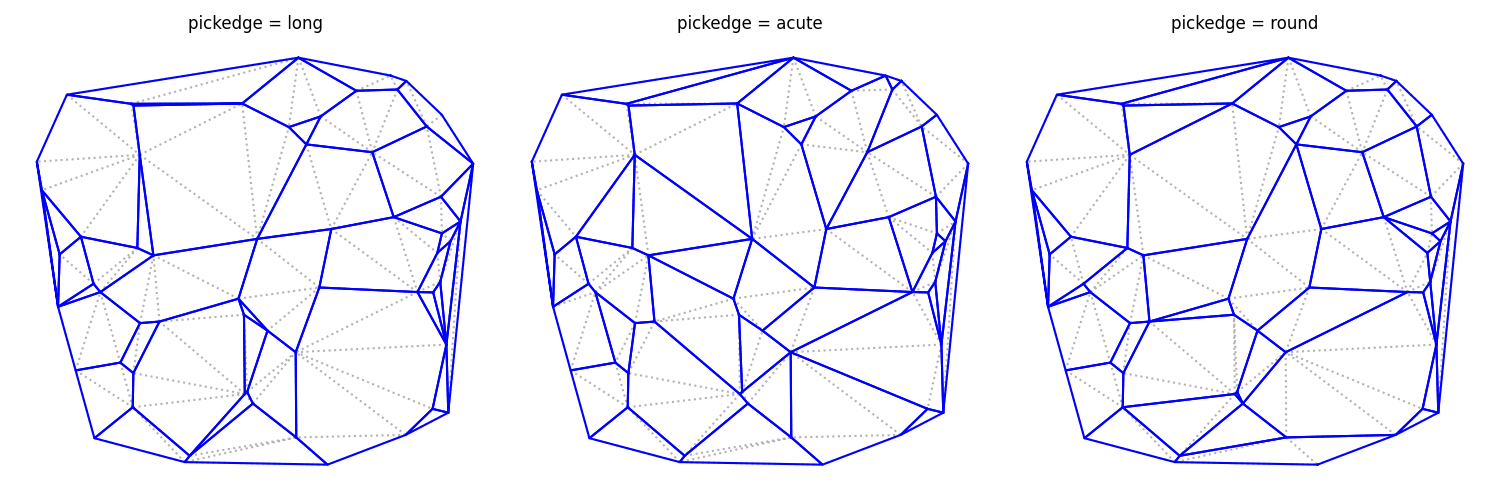
When creating a Polygonate object, the pickedge parameter controls which
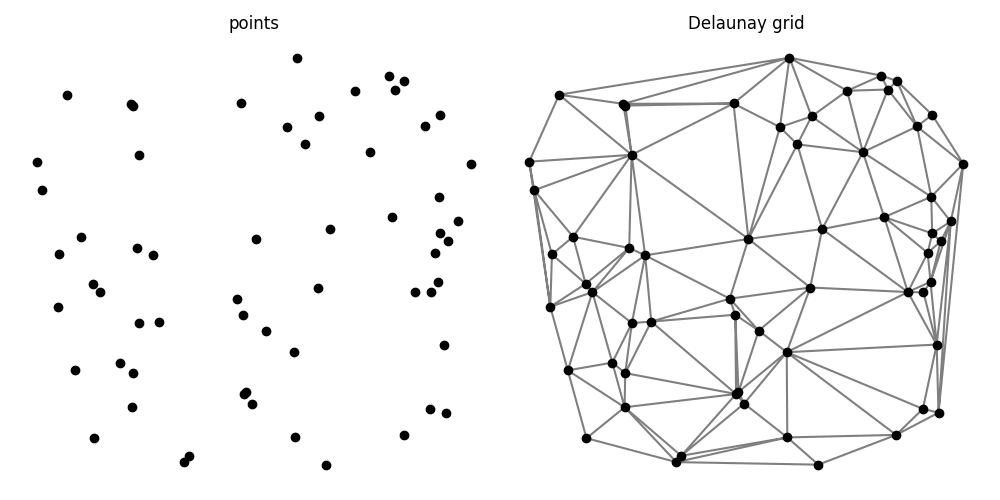
edge is removed in each step. Here is a comparison with a larger set of points:
The points and the Delaunay triangular tessellation for this example:
Polygonation results with convex = True:
Polygonation results with convex = False: